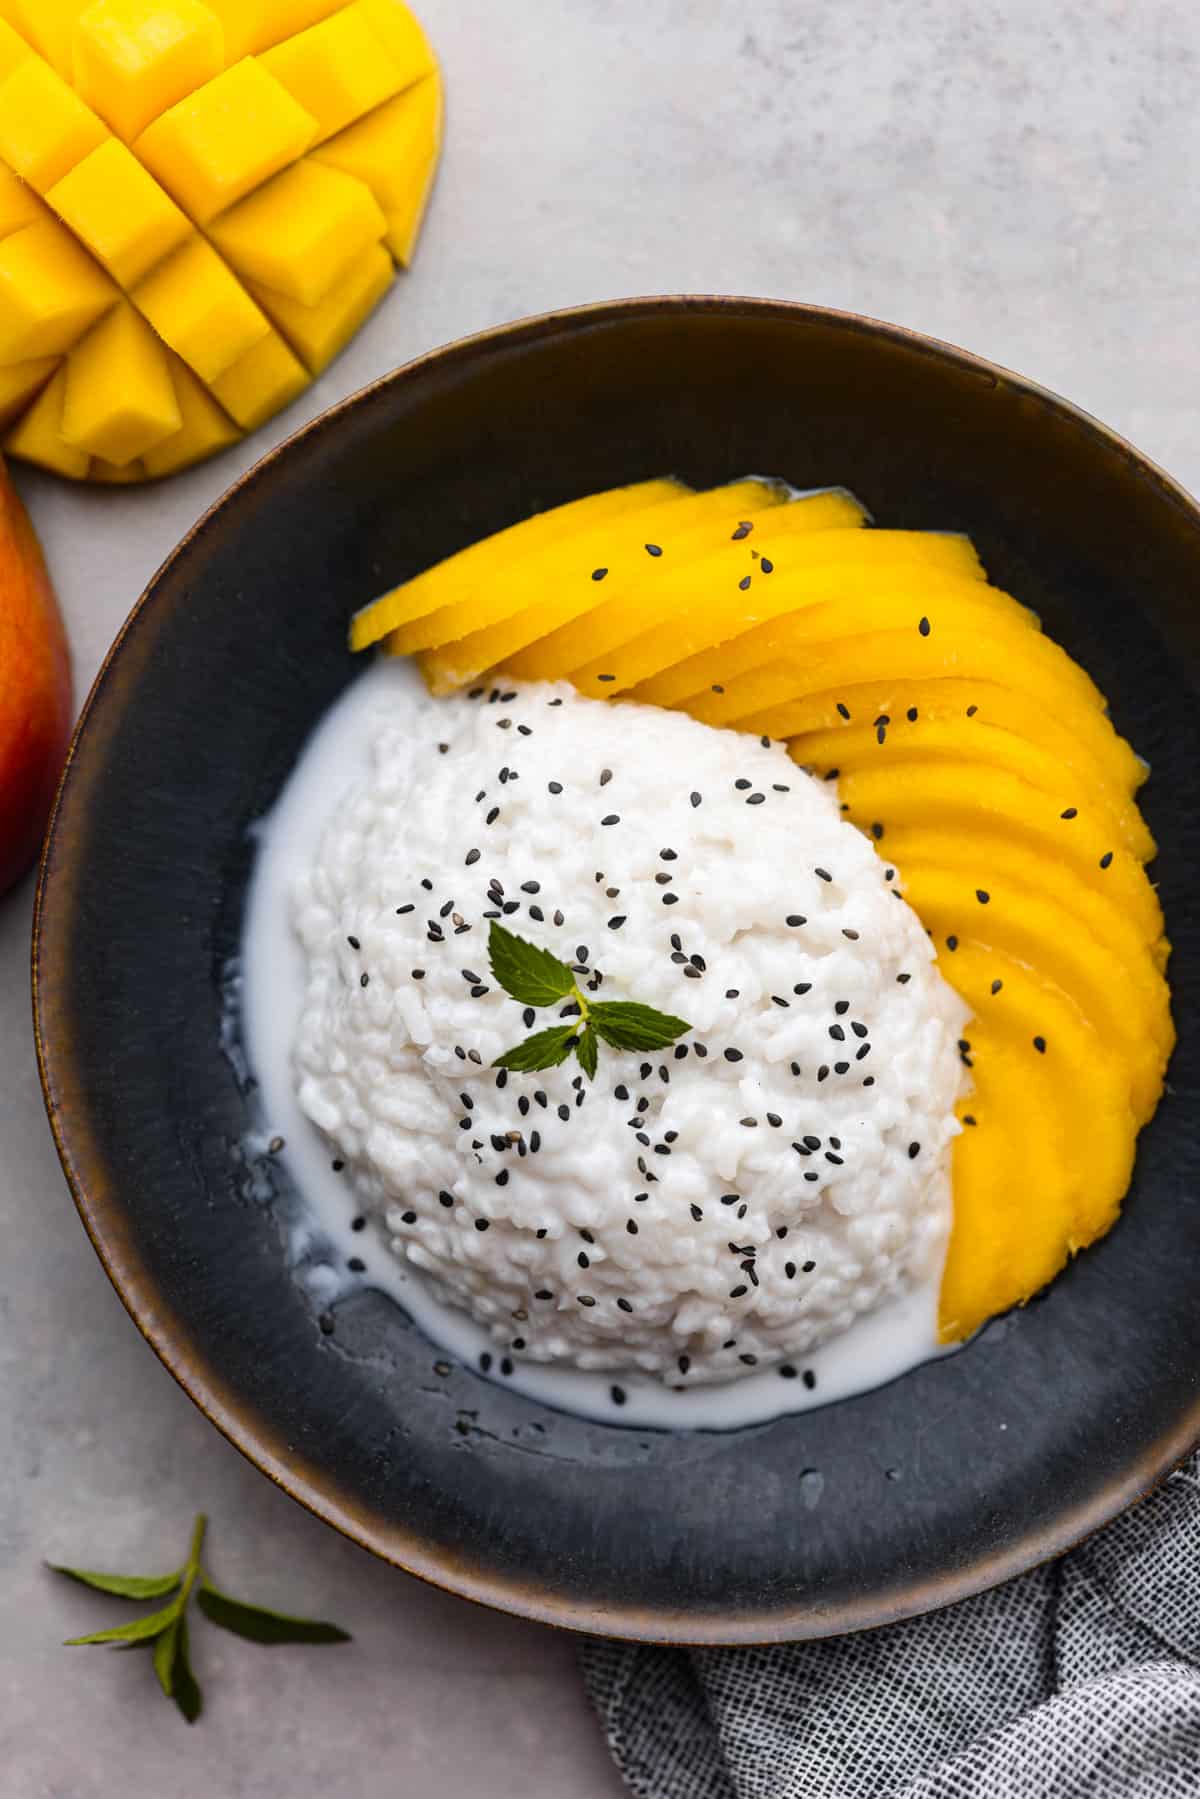
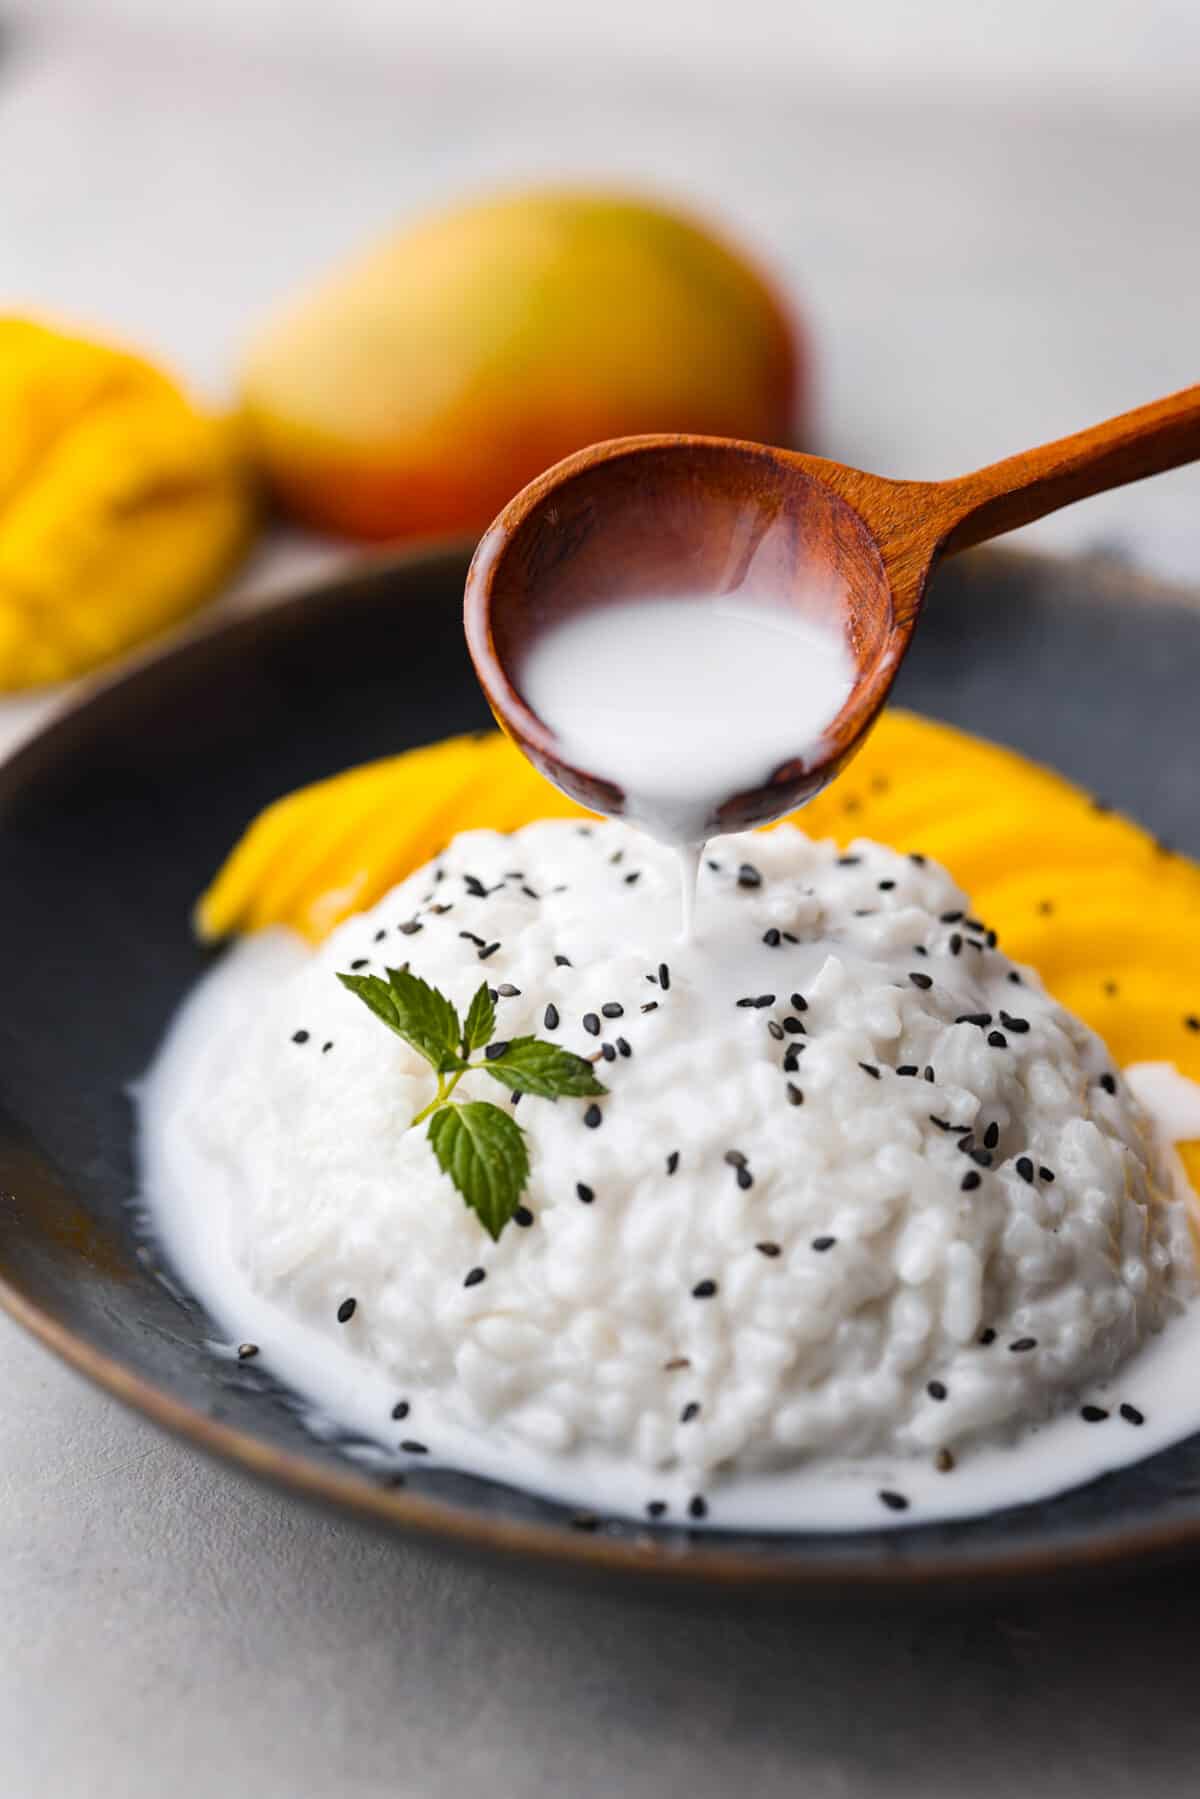
Dive into this irresistible mango sticky rice! Warm coconut sauce, fluffy rice, and juicy mangoes – an iconic Thai dessert made with love in your own home.
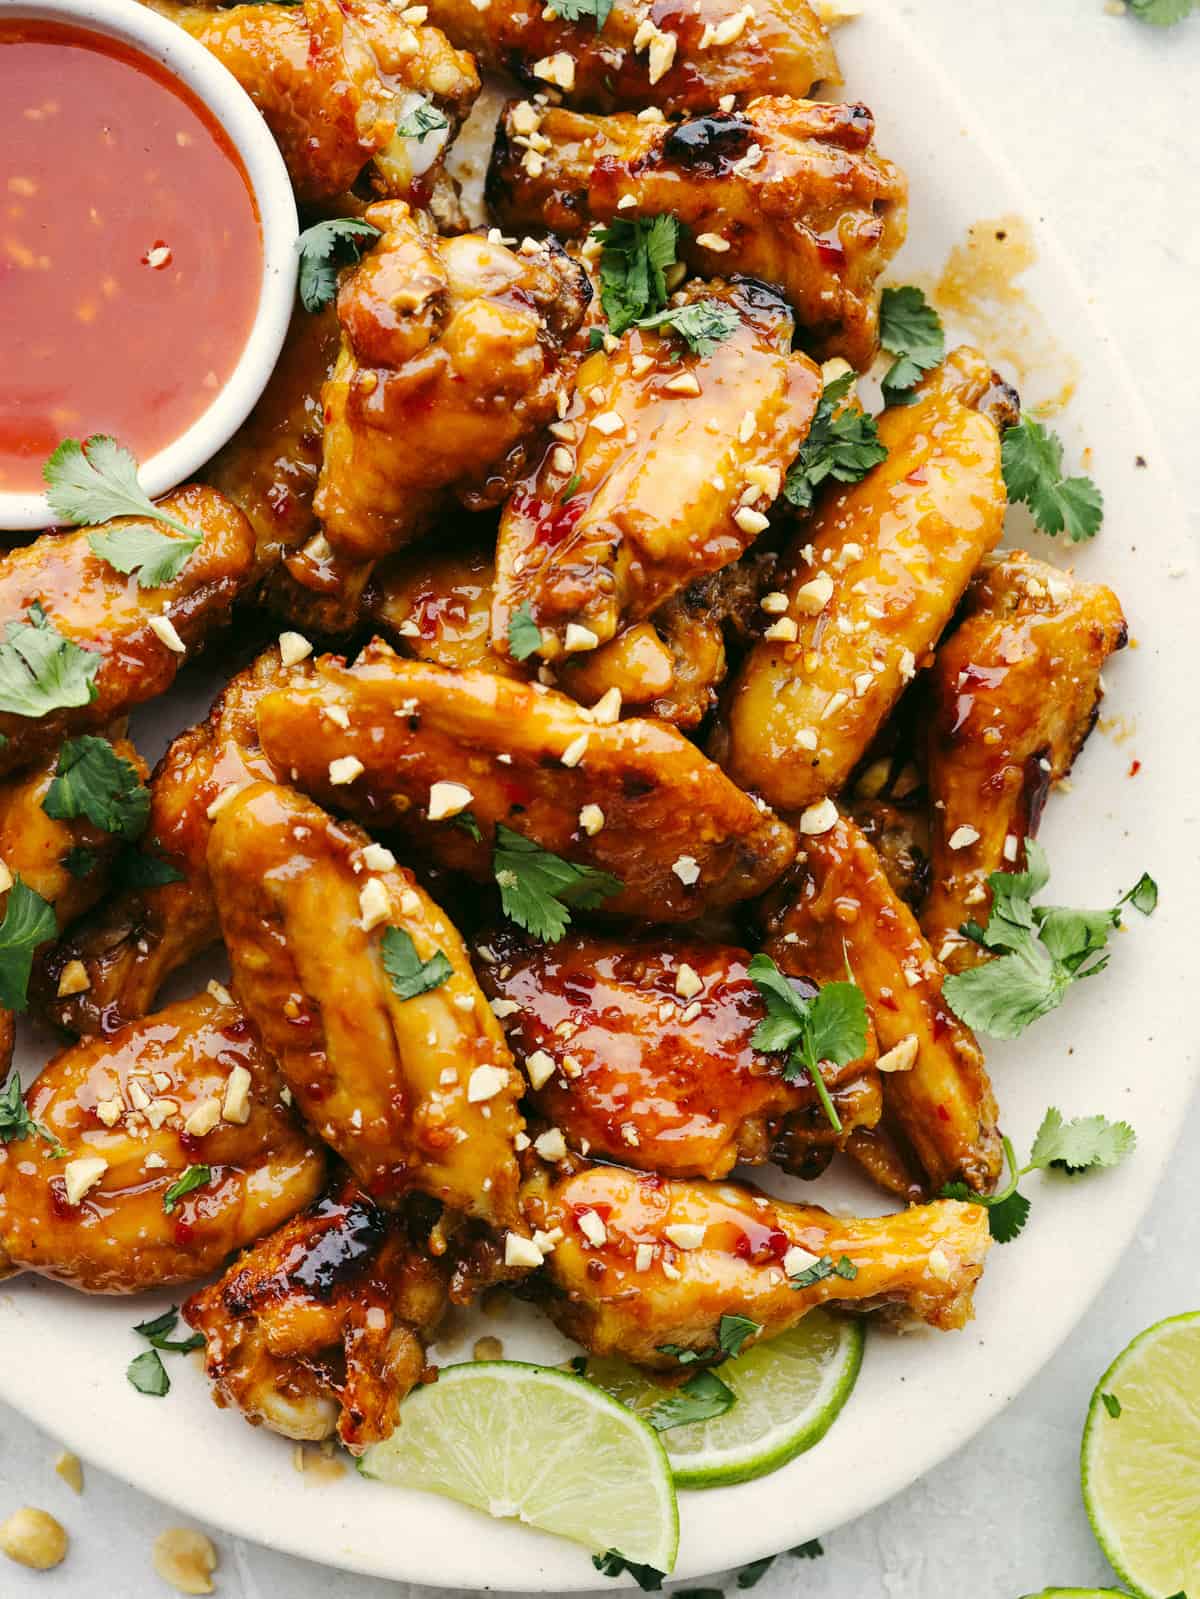
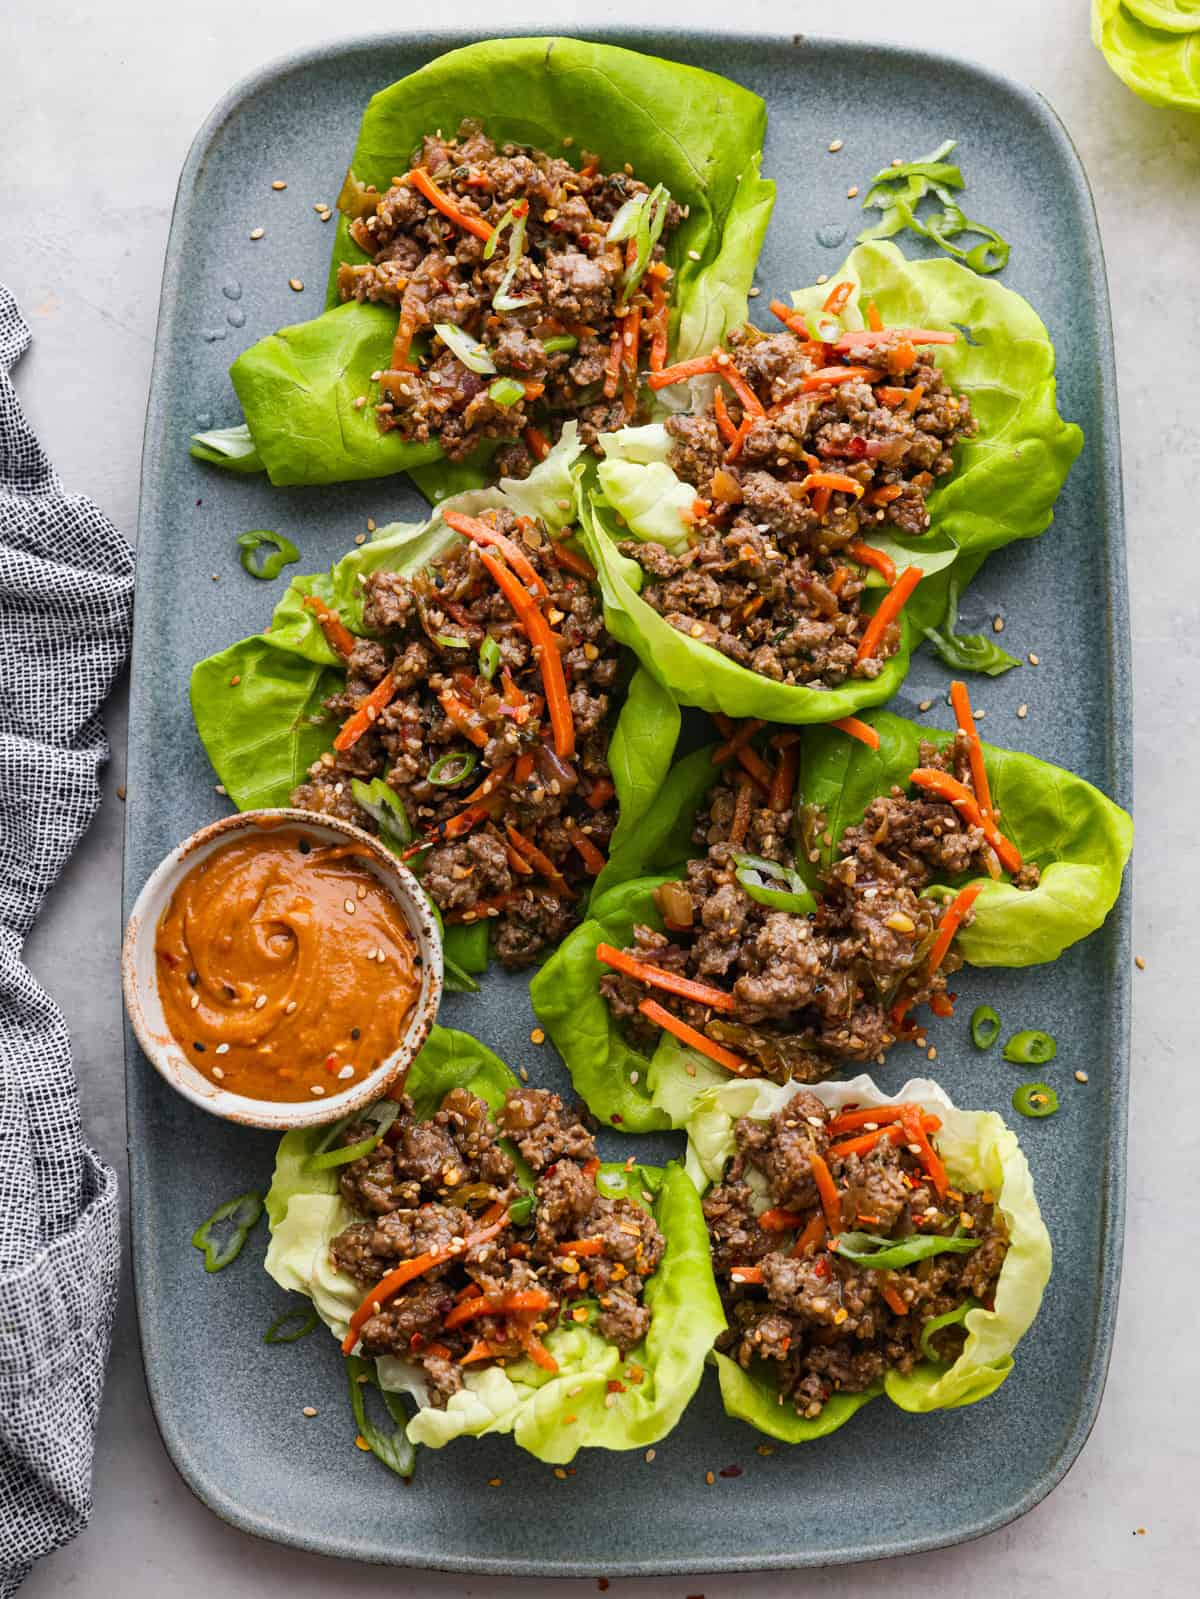
Thai food is easily my favorite cuisine and I never get tired of it. If you want to try making some more delicious recipes at home, here are a few of my favorites: pad thai, massaman curry, and drunken noodles (pad kee mao)!
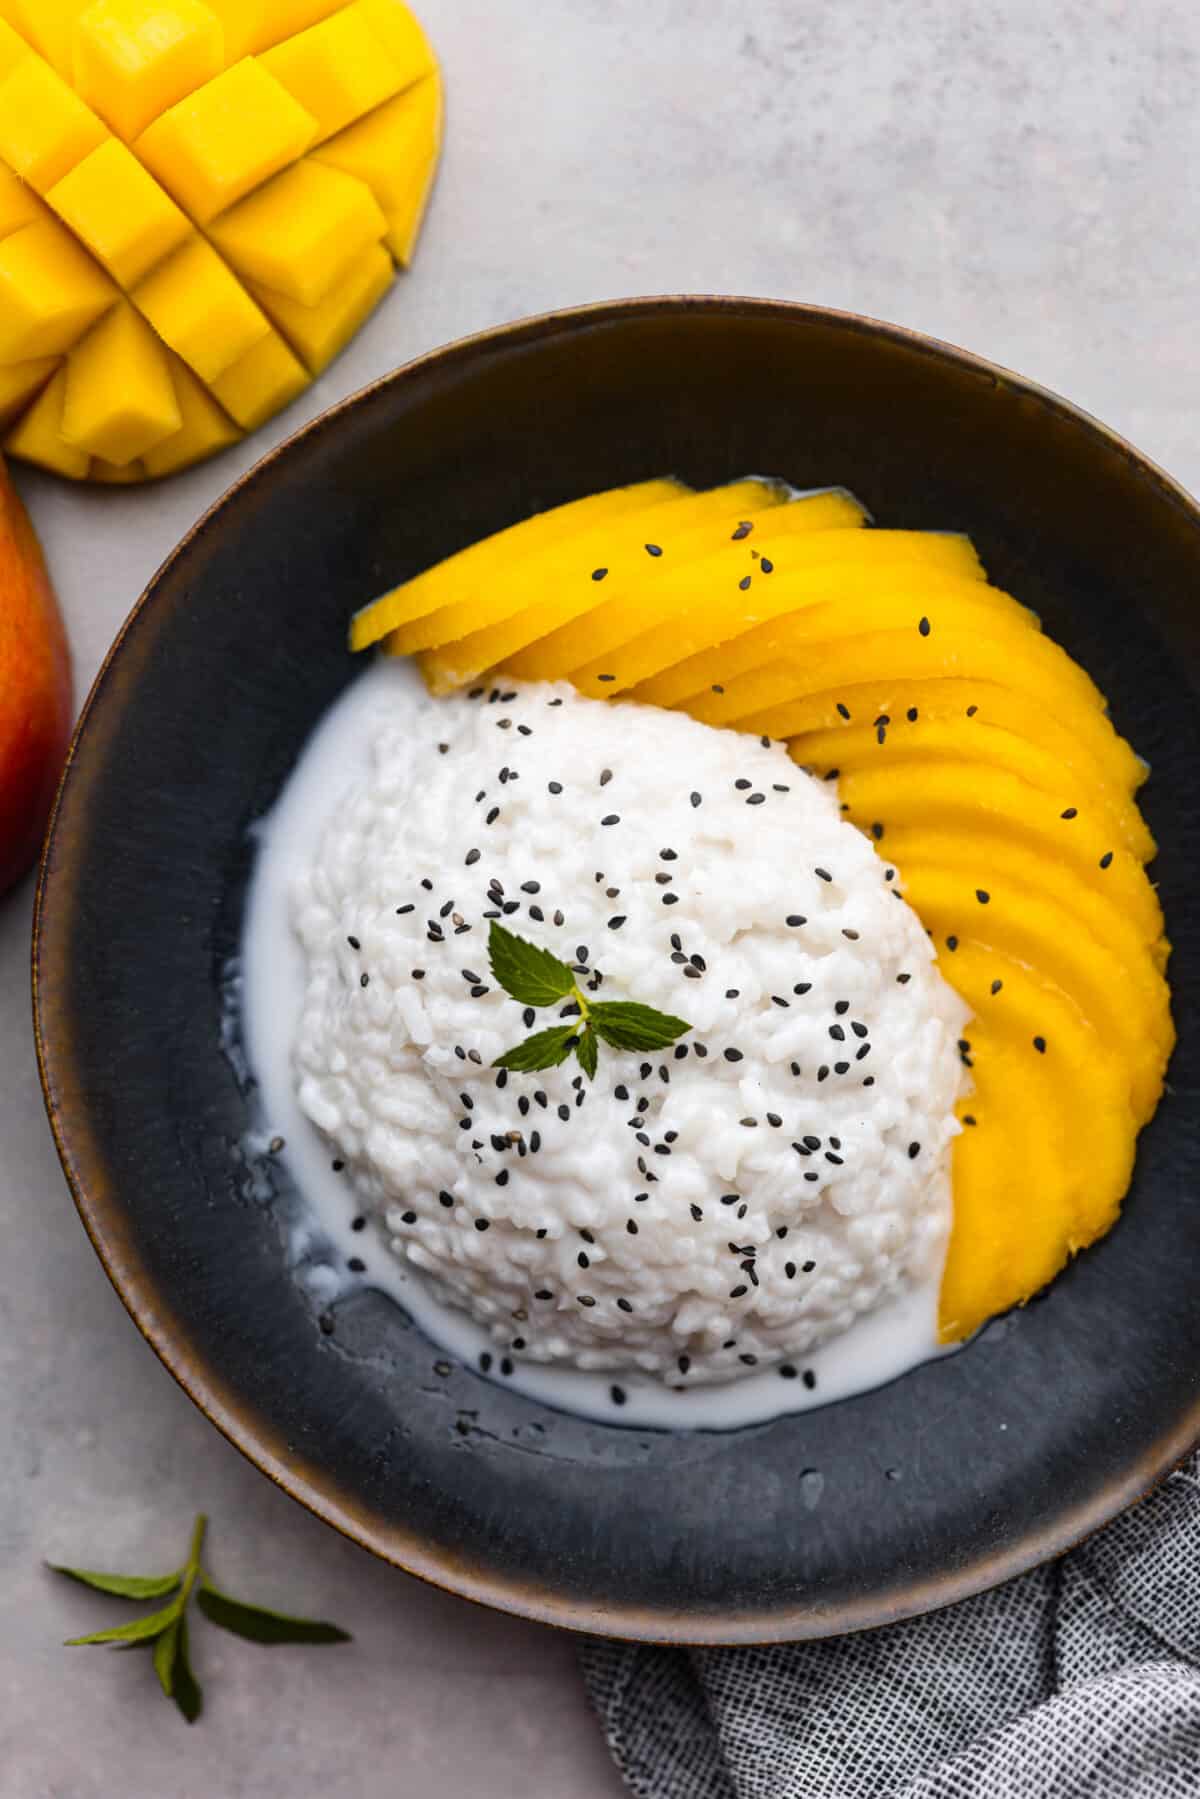
Thai Mango Sticky Rice Recipe
This mango sticky rice recipe is a love letter to Thailand’s beloved dessert. Forget the takeout. With just a handful of ingredients and a touch of patience, you can craft a masterpiece right in your kitchen! We’re talking tender, chewy rice cooked to perfection, covered in a warm coconut sauce that’s perfectly sweet. And then, the crowning glory – juicy, ripe mango slices for fresh, irresistible flavor.
Mango sticky rice will forever be one of my favorite desserts. It’s just the perfect blend of textures and flavors. Sweet and comforting, with a little juicy tang from the mango! They complement each other so well. Once you know how to make this dish from scratch, you’ll want it all the time.
Ingredient List
It only takes 6 ingredients to put this mango sticky rice together, and that includes sugar and salt! I love how simple this list is. The one thing I recommend though, is to find glutinous rice if you can. It’s what will give the dish that classic chewy, comforting texture. I find mine at my local Asian grocery store, but you can also get it online.
- Sticky Rice: The heart and soul of the dish. Choose jasmine rice, sushi rice, or glutinous rice – its starchy nature creates the perfect chewy texture.
- Coconut Milk: Use full-fat for maximum flavor! It’s what makes the sauce so good.
- Sugar: To sweeten up the sauce. You can always use less if you don’t want it to be too sweet.
- Salt: Just a pinch to make everything taste better!
- Mangoes: The star of the show, their juicy sweetness is the reason we’re all gathered here. Pick mangoes that give slightly when you squeeze them. If they’re too hard, they’re likely not ripe.
- Sesame Seeds: A finishing touch to the mango sticky rice. You can toast them beforehand to bring out their delicious, nutty flavor.
How to Make Mango Sticky Rice
I’ve been pretty obsessed with this recipe lately. It’s warm and filled with tropical flavor, which is the perfect distraction from all the snow Utah has been having. Here’s how you can make a delicious batch yourself:
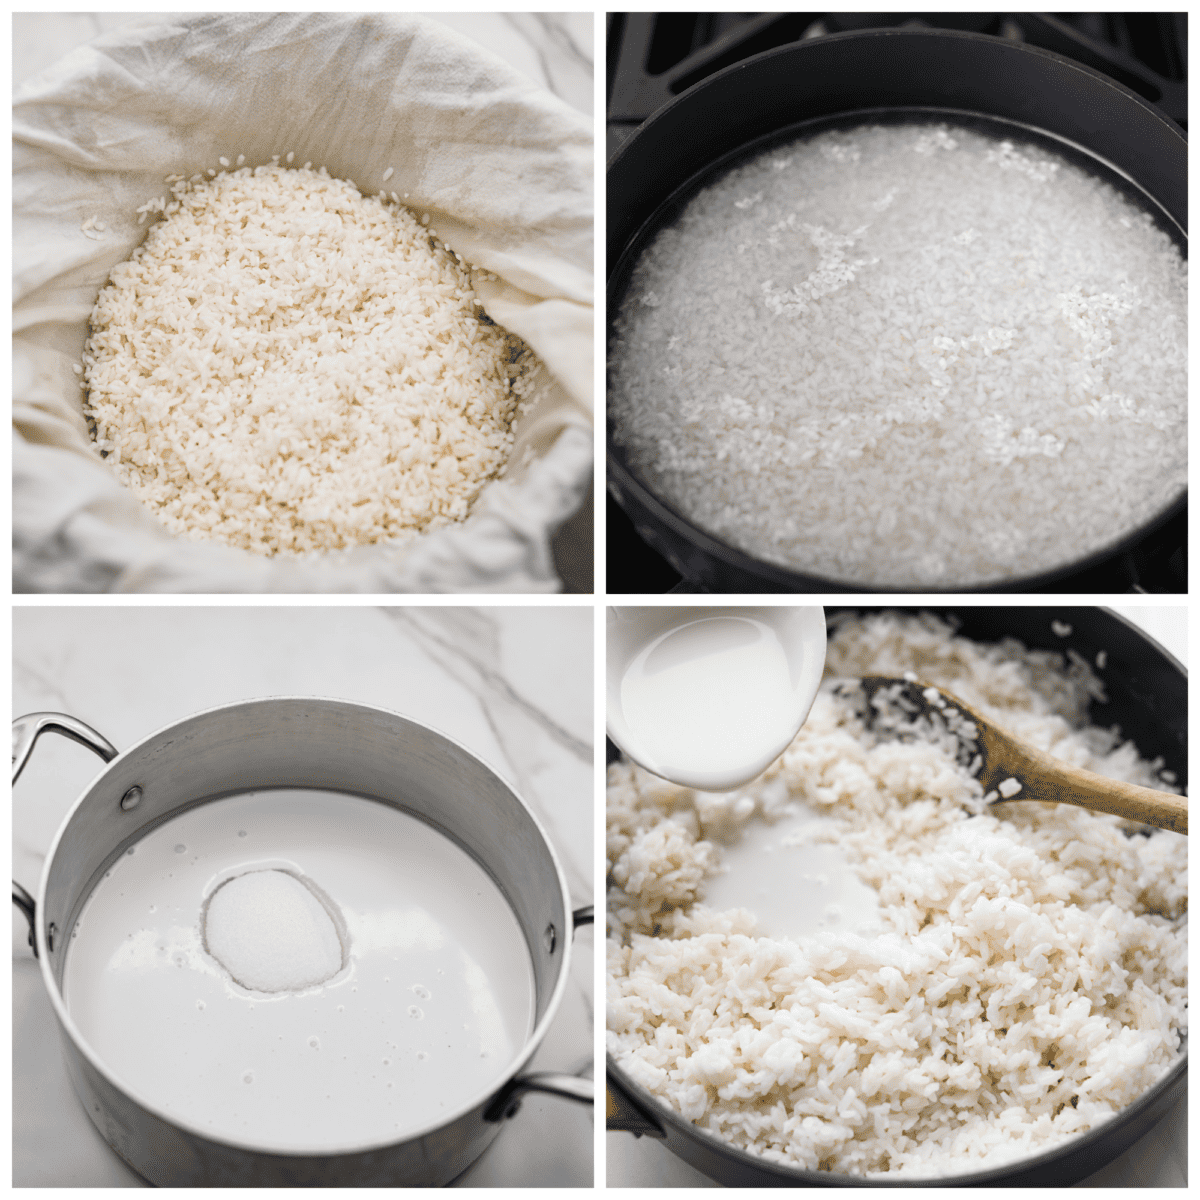
- Soak Rice: Add the rice to a medium-sized bowl and rinse 2-3 times before covering the rice with warm water. Cover and set aside to soak for at least 2 hours, or overnight.
- Remove Excess Water: After the rice has soaked, line a colander or fine mesh sieve with cheesecloth or a thin, clean kitchen towel. Pour the rice into it and then wrap it with the cheesecloth, squeezing to remove the excess water.
- Steam Rice: Place a large pot on the stove with an inch or two of water in the bottom. Bring the water to a boil and place a steaming rack or basket in the pot. Place the rice still wrapped in the cloth in the basket and cover. Let steam for 20-25 minutes, or until the rice is translucent.
- Transfer to Bowl: Remove the rice from the heat, then transfer to a medium bowl and cover.
- Coconut Sauce Mixture: Prepare the coconut sauce by combining the coconut milk and sugar in a medium pot. Bring to a simmer over medium heat and cook for 3-4 minutes, until all the sugar is dissolved.
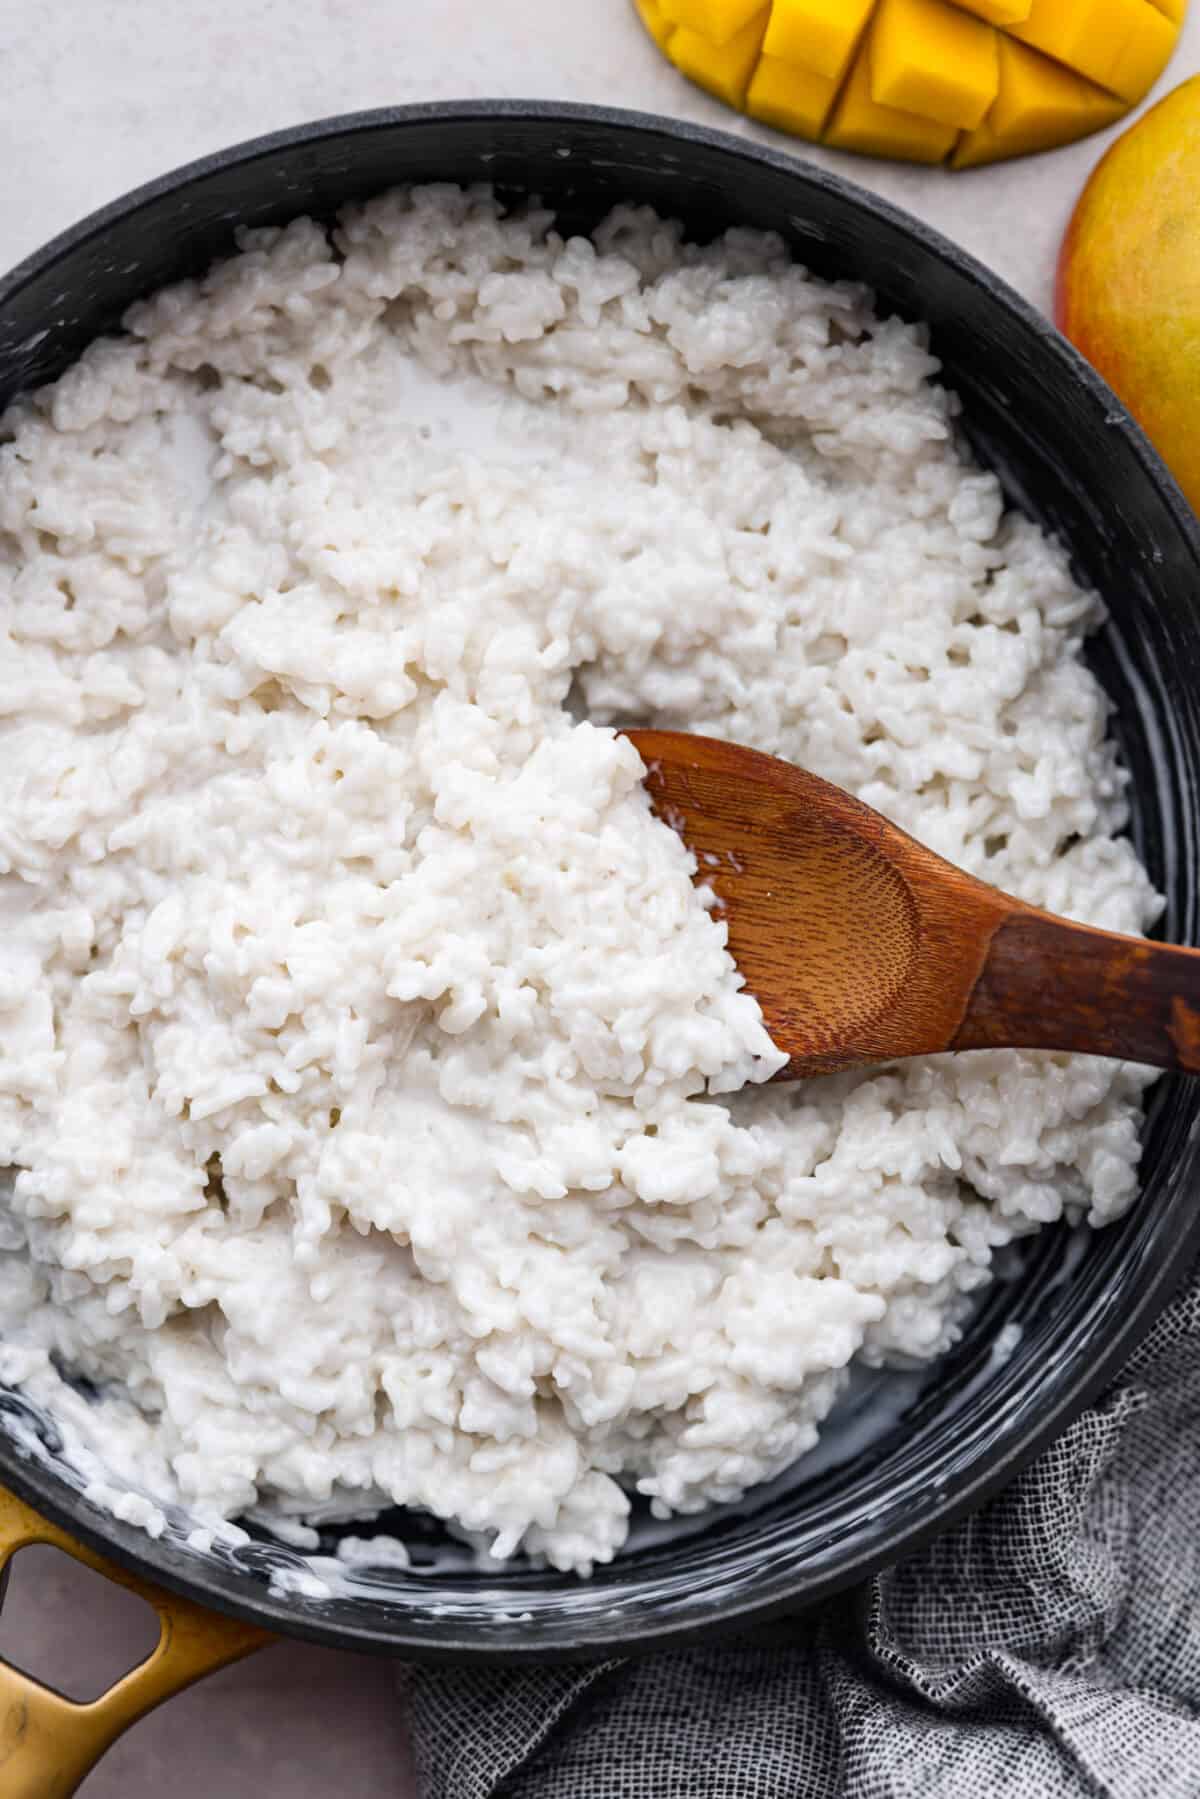
- Serve: Slowly stir the warm sauce over the warmed rice until all of the sauce has been absorbed into the rice. Scoop out portions onto plates or bowls and sprinkle with sesame seeds and serve with fresh mango on the side.
Tips for the Best Mango Sticky Rice
A few simple tips to perfect your mango sticky rice, and also make it year-round! (Mangoes don’t need to be in season to enjoy this amazing Thai dessert!)
- Glutinous Rice: For a more traditional rice, you may use glutinous rice instead. Follow the cooking instructions on the package to make 2 cups of rice and proceed with the coconut sauce as directed.
- Make it Less Sweet: For reduced sweetness, use only 1/2 cup of sugar in the sauce.
- Use Full-Fat Coconut Milk! The creaminess of the full-fat stuff is really what makes this dessert so decadent and lush.
- Use Canned Mangoes: If mangoes are out of season, this dish is great with canned mangoes!
Storing Leftovers/ Making Ahead
Mango sticky rice is best enjoyed fresh, but leftovers may be stored for 1-2 days in an airtight container in the refrigerator.
The coconut sauce may be made ahead of time. Store in the refrigerator until your rice is ready. Gently warm the sauce in the microwave or on the stovetop before adding to the warm rice.
More Delicious Thai Recipes to Try:
Mango Sticky Rice
Ingredients
- 2 cups sushi rice, or sticky rice
- 2 13.66-ounce can coconut milk, full fat
- ⅔ cup granulated sugar, ½ cup for less sweetness
- 1 pinch salt
- 3 ripe mangoes, sliced thin
- 1 teaspoon toasted or black sesame seeds, optional, for garnish
Instructions
-
Add the rice to a medium-sized bowl and rinse 2-3 times before covering the rice with warm water. Cover and set aside to soak for at least 2 hours, or overnight.
-
After the rice has soaked, line a colander or fine mesh sieve with cheesecloth or a thin, clean kitchen towel. Pour the rice into it and wrap it with the cheesecloth, squeezing to remove the excess water.
-
Place a large pot on the stove with an inch or two of water in the bottom. Bring the water to a boil and place a steaming rack or basket in the pot. Place the rice still wrapped in the cloth in the basket and cover. Let steam for 20-25 minutes, or until the rice is translucent.
-
Remove the rice from the heat, transfer to a medium bowl and cover.
-
Prepare the coconut sauce by combining the coconut milk and sugar in a medium pot. Bring to a simmer over medium heat and cook for 3-4 minutes, until all the sugar is dissolved.
-
Slowly stir the warm sauce over the warmed rice until all of the sauce has been absorbed into the rice. Scoop out portions onto plates or bowls and sprinkle with sesame seeds and serve with fresh mango on the side.




0 Mga Komento