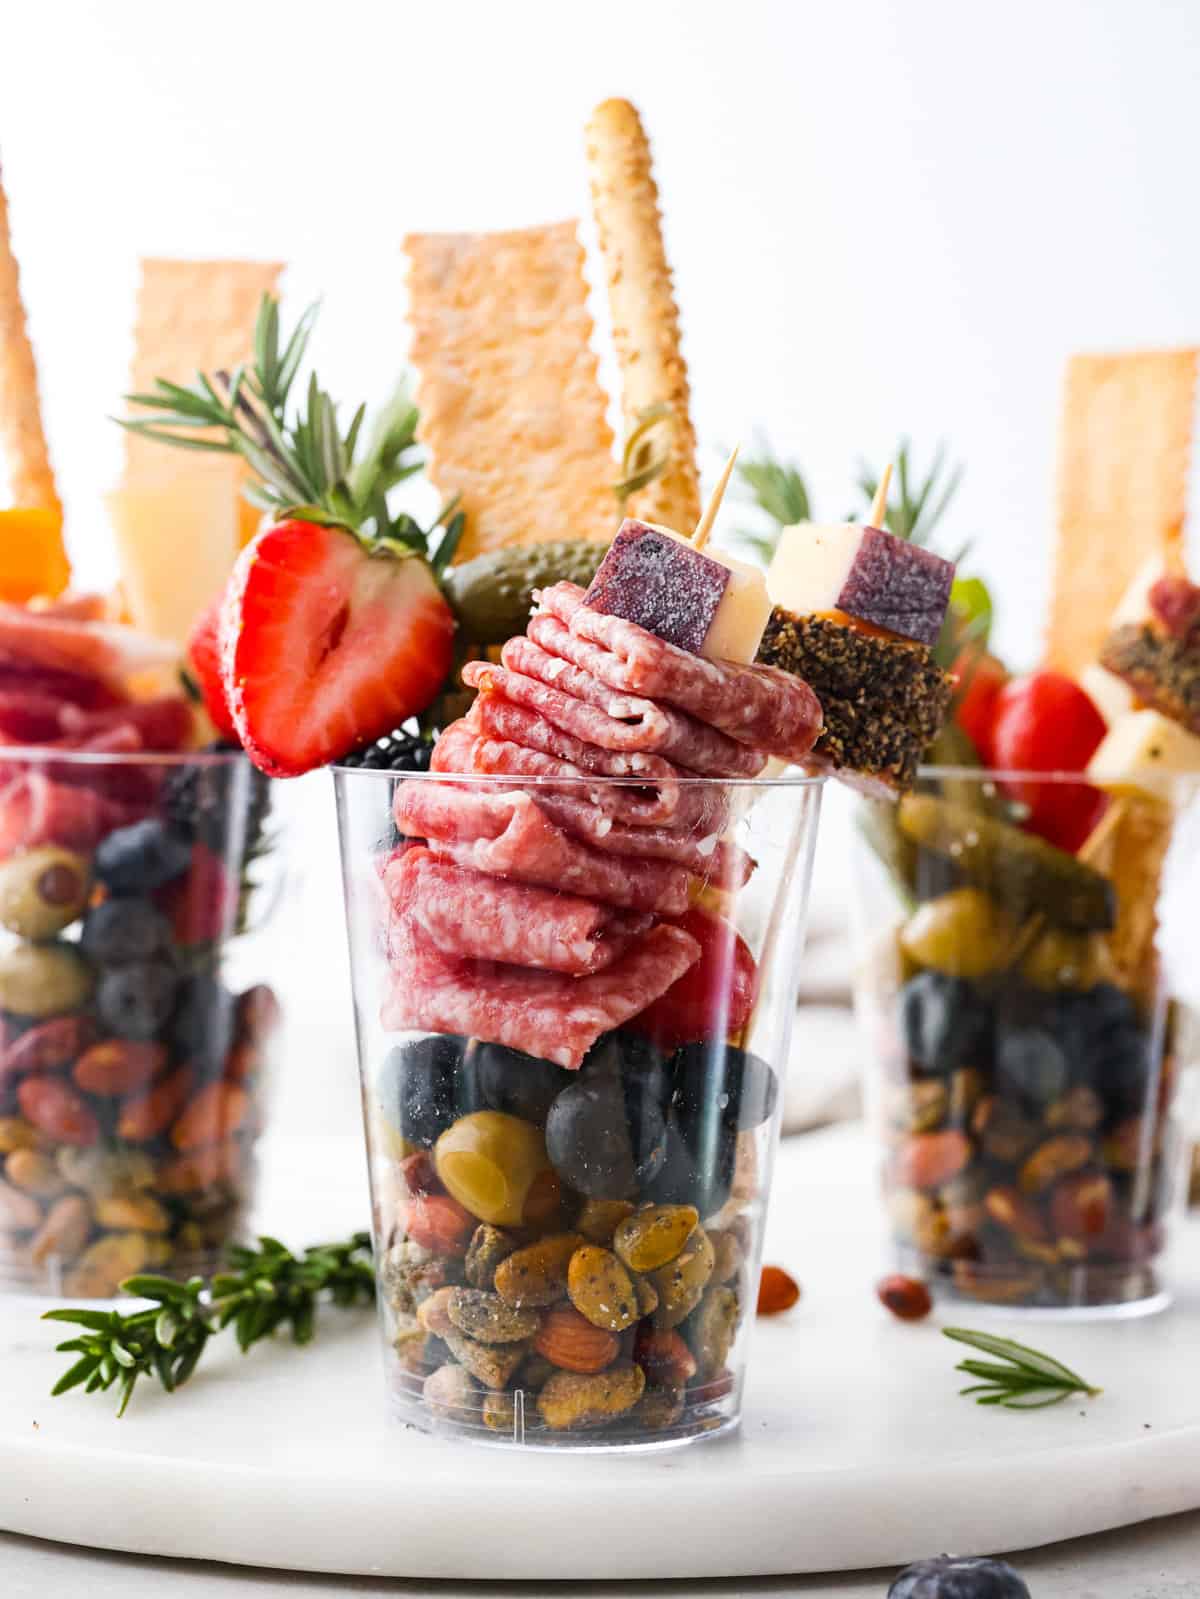
Impress your guests with these quick and easy charcuterie cups! They’re packed with an assortment of meats, cheeses, fruit and nuts; it’s the ultimate finger food!
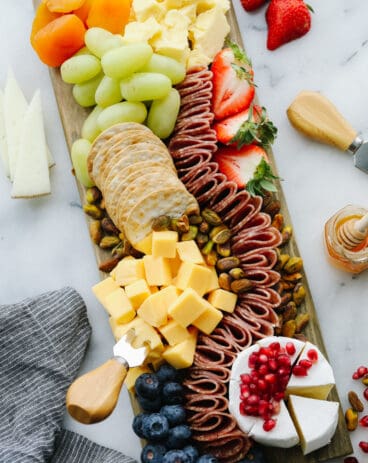
I’m a sucker for good charcuterie. The beauty of charcuterie boards is that you can make so many different kinds! If you’re craving something meaty, this Italian charcuterie is the way to go. If you’re wanting something sweet, a chocolate charcuterie board is a great choice! You can also make one entirely with vegetables. The options are endless!
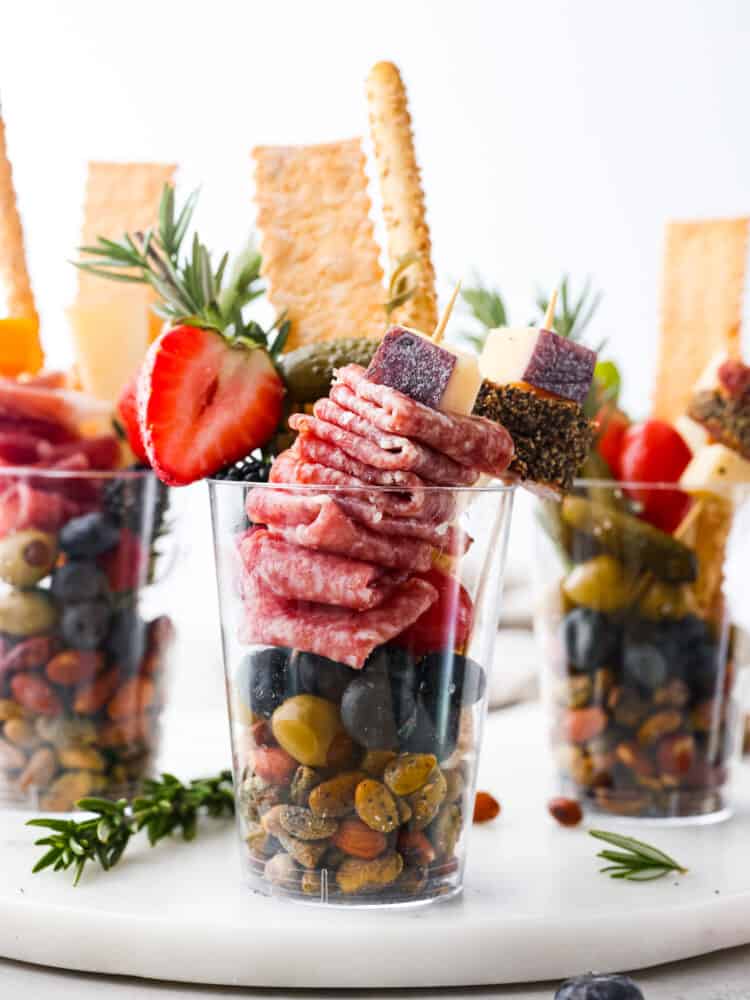
Charcuterie in a Cup
This recipe takes everything good about a charcuterie board but makes it into individual servings. What could be better? No more fighting over that last cube of cheese! Charcuterie cups are super easy to make and will have your guests raving. They’re also sometimes known as “jarcuteries” when served in a glass jar. Not only do they look good, but they taste even better! No matter the occasion, these charcuterie cups are the perfect appetizer choice.
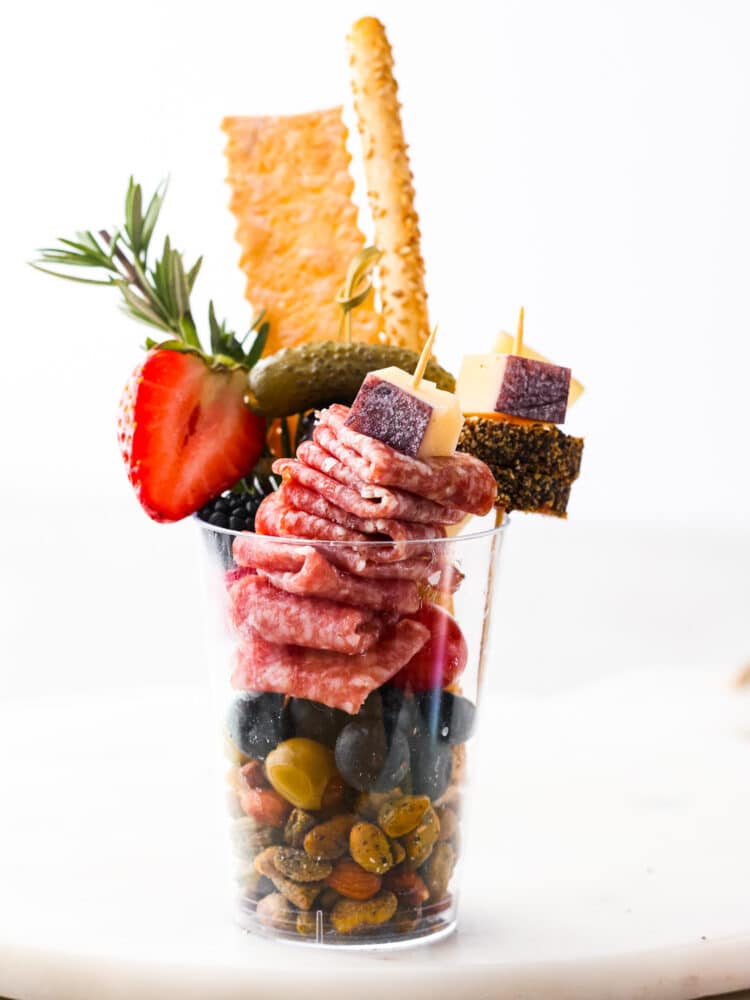
Like any charcuterie board, this version in a cup can easily be customized. I used a variety of nuts, olives, meats, cheeses, and fruit, but feel free to mix and match to personal preference! I like to add in a bunch of different flavors and textures to these charcuterie cups. This way, there’s something for everyone, no matter what you’re craving! You’re going to LOVE having these on hand to munch on before dinner. They’re the perfect option for dinners throughout the holiday season as well as game days and potlucks!
Start With the Cups
Any plastic cups will work, but I like to use crystal party cups because they have a nice presentation. I used 14 ounce cups to make sure they fit all of the tasty ingredients. If you want smaller portions, you can go for something like a 9 ounce cup. Additionally, you’ll need toothpicks or wooden skewers to put these charcuterie cups together.
The Perfect Serving Cups
Everything You’ll Need to Make Charcuterie Cups
I like to have a good mix of sweet, salty, crunchy, and soft in my charcuterie cups. Feel free to leave out anything you don’t like or add in some of your other favorite snacks! The beauty of charcuterie cups is that you can easily customize them to personal preference.
- Nuts: I put these in the bottom of my charcuterie cups. They have the best crunch! I used regular salted pistachios and almonds here, but you can try out different flavors if you’d like! In addition to pistachios and almonds, pecans, walnuts, macadamia nuts, and cashews are all great things to try!
- Bread: No charcuterie is complete without some tasty crackers! For these charcuterie cups I went for long, narrow crackers so they poke out of the top of the cup. Bread and crackers is a great way to play around with flavors and textures! Here, I used sesame breadsticks and tall baked crackers.
- Olives: Skewer some olives onto a serving stick with some meat and cheese for a little extra flair! I use both black and green olives here for some variety in flavor and color.
- Meats: Sliced meats are the best way to pack flavor into your charcuterie cups. I added salami, prosciutto di parma, and peppered red wine salame to my skewers for the best mix of salty, sweet, and peppery flavor. Pepperoni also works as an inexpensive option!
- Cheeses: I like to have a sharp, flavorful cheese as well as a mild, creamy cheese in my charcuterie cups. I used cheddar cheese and mozzarella, respectively.
- Berries: I used strawberries, blackberries, and blueberries!
Extra Add-Ins
Here are a few extra things you can add to your charcuterie cups! Feel free to mix and match. You can also create a charcuterie cup bar so your guests can make their own!
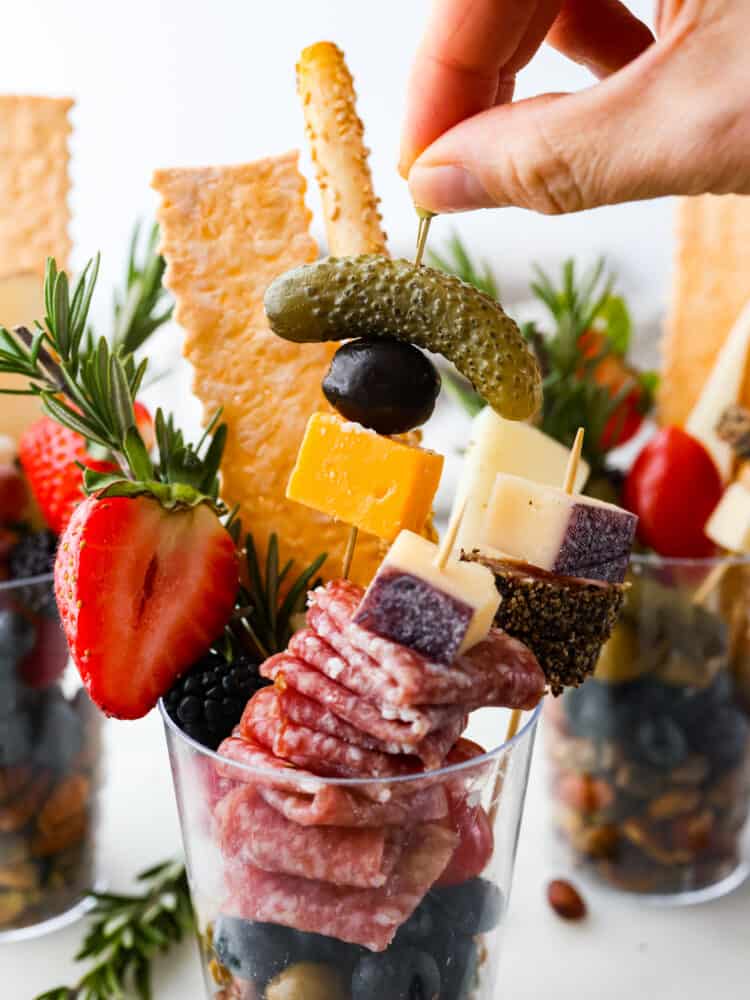
- Veggies: They may not be for everyone, but me and my kids love adding mini pickles to our skewers! Cherry or grape tomatoes are more great things to add to your skewers.
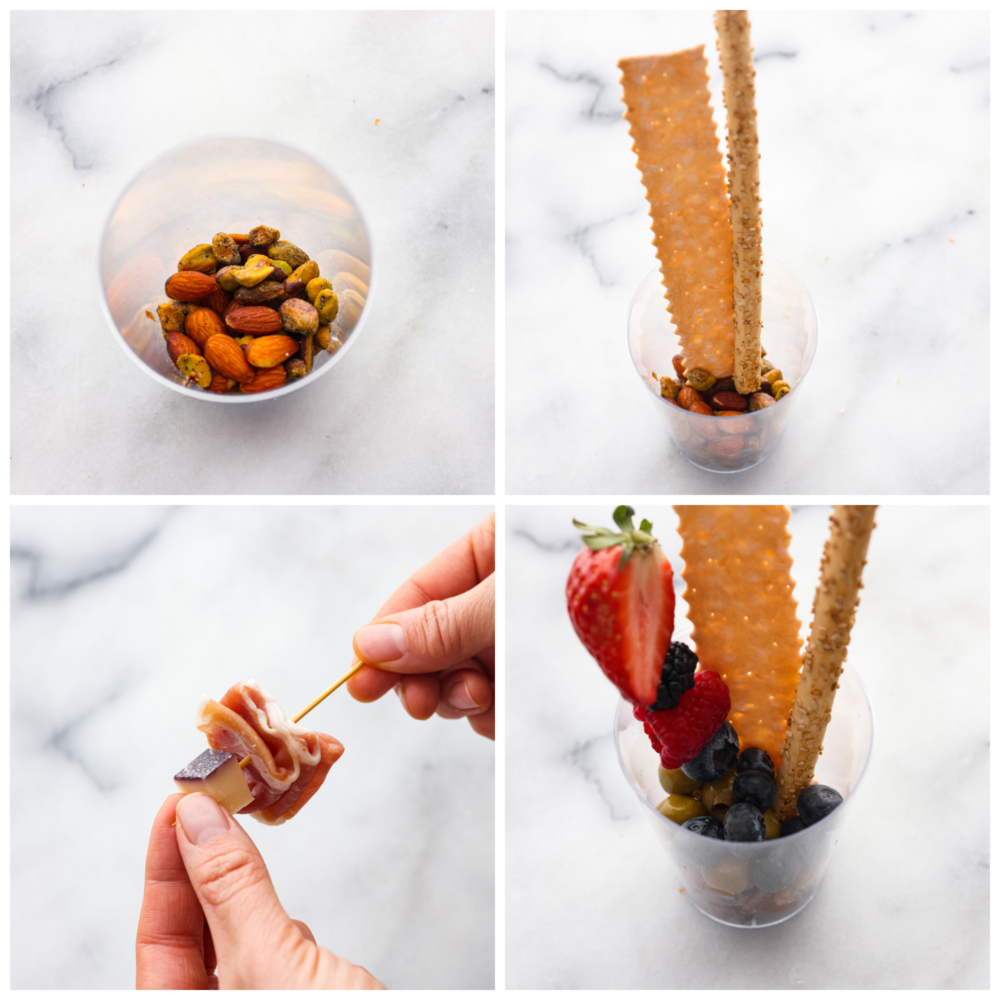
How to Make Charcuterie Cups
It’s SO easy. They only take a few minutes to whip up! These bad boys will impress your guests with minimal effort.
- Add Pistachios and Almonds: To start, add the nuts to the bottom of your clear plastic cup. Then add the olives.
- Prepare Meat Skewer: On a toothpick thread 3-4 pieces of meat and top with cheese cubes. Add to the cup.
- Prepare Fruit Skewer: On another toothpick thread the fruit.
- Add On Remaining Toppings: Alternate on remaining toothpicks the cheese cherry tomatoes and pickles.
- Top With Fresh Herbs: Garnish with fresh rosemary.
Tips and Serving Suggestions
These are just a few extra ways to jazz up your delicious charcuterie cups. Don’t be surprised if this becomes one of your new favorite appetizers! It’s the best!
- Add Fresh Herbs: Not only do fresh herbs look great, but they add extra flavor and aromatics to each charcuterie cup. I love adding rosemary sprigs but herbs like basil will work great, too!
- Other Fruits: Green grapes and red grapes are great for adding to the skewers as well as sugared cranberries for some (delicious) winter flair! Sliced apples are also one of my kids’ favorites to add to their skewers. Fruit and cheese is a heavenly combo.
Charcuterie Cups
Ingredients
Nuts:
- Pistachios
- Almonds
Bread:
- Sesame Breadstick
- Tall Crackers
Olives:
- Green Olives
- Black Olives
Meats:
- Salami
- Prosciutto di Parma
- peppered red wine Salame
Cheeses:
- Cheddar Cheese
- Mozzarella Cheese Pearls
Fruits:
- Strawberries
- Blueberries
- Blackberries
Other:
- Mini Pickles
- Cherry Tomatoes
- Rosemary for Garnish
- Toothpicks
Instructions
-
To start, add the nuts to the bottom of your clear plastic cup. Then add the olives.
-
On a toothpick thread 3-4 pieces of meat and top with cheese. Add to the cup.
-
On another toothpick thread the fruit.
-
Alternate on remaining toothpicks the cheese cherry tomatoes and pickles.
-
Garnish with fresh rosemary.




0 Mga Komento