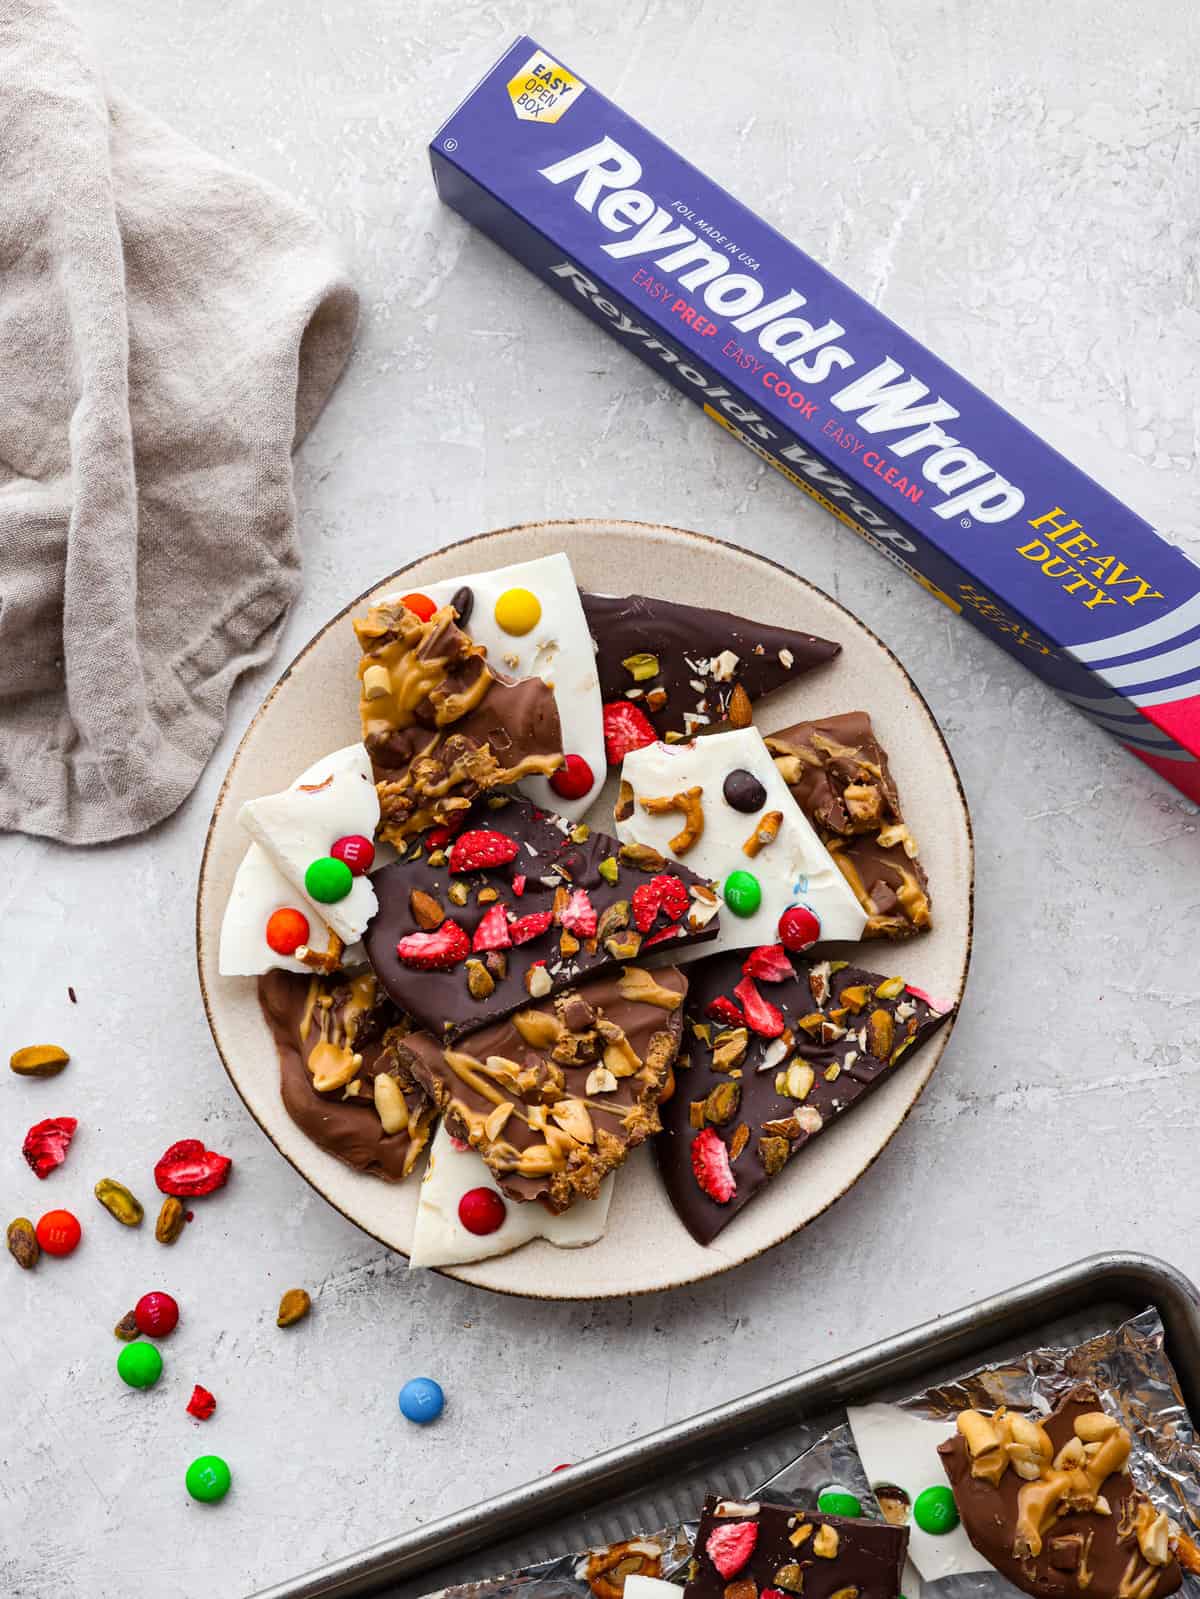
This delicious Chocolate Bark made with Reynolds Wrap® Heavy Duty Foil will be the tastiest and simplest dessert you make all holiday season! It’s quick and easy, and your entire family will go crazy over it!
The holidays are the season for desserts! I especially love easy ones that I can whip up in no time. If you love this simple chocolate bark, then you must also try these Grinch Cookies, this delicious Eggnog Fudge, or this simple Peppermint Pie with an Oreo Crust!
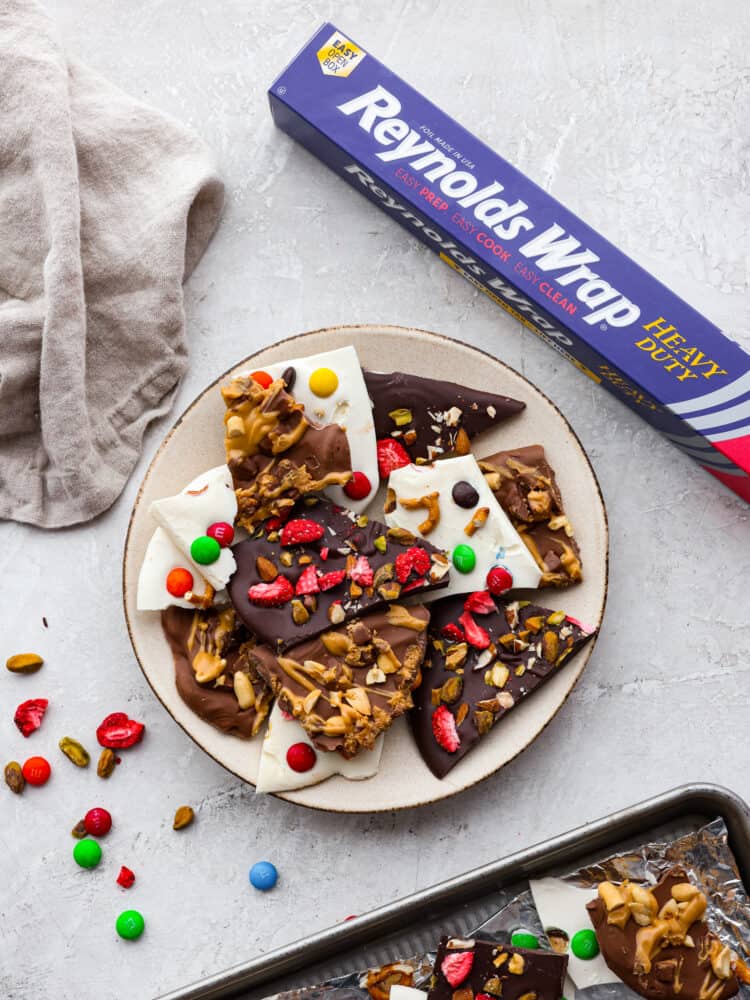
Reynolds Wrap® Foil Chocolate Bark
I cannot tell you how excited I am that I get to partner with Reynolds Wrap® for this recipe! Did you know Reynolds Wrap® is celebrating its 75th anniversary this year? This is a true testament to their product quality and how easy they make prepping, cooking, and cleanup for my family and me, especially with the holidays upon us/right around the corner. This chocolate bark is so convenient because you can make it ahead of time and use it for dessert at a holiday party or even wrap it up and make some gifts for your neighbors. After all, who doesn’t love a delicious homemade treat to eat during the season?!
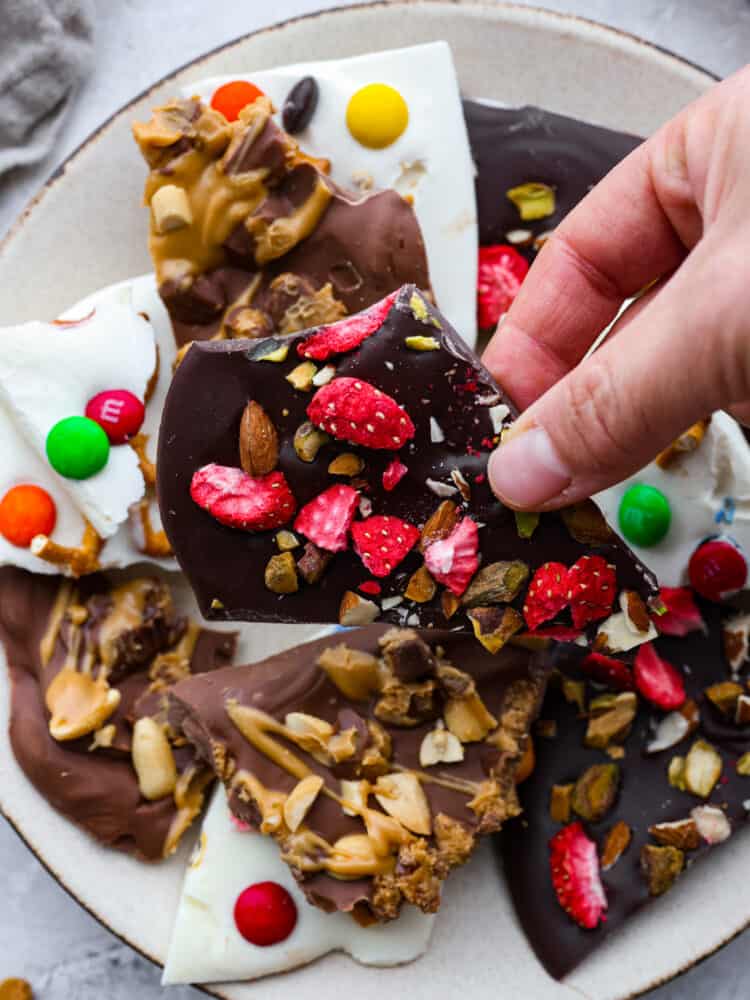
The holidays are the perfect time to use Reynolds Wrap® Heavy Duty Foil. I used this foil to make this delicious chocolate bark, which turned out SO delicious. It will become your go-to treat for this holiday season (or all year round)! I used three different combinations; milk chocolate, white chocolate, and dark chocolate. Each of them has different topping variations, which makes this recipe so versatile. The foil makes cleanup so easy. In fact, you can just use the foil to wrap up any leftovers and store the chocolate bark for later!
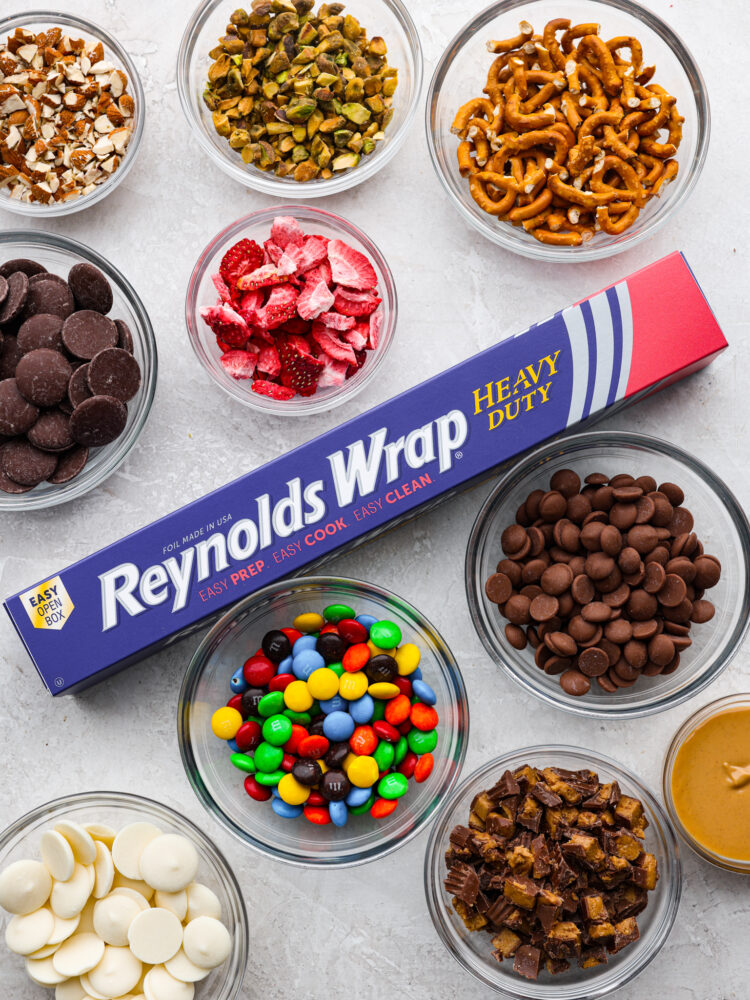
Ingredients in Chocolate Bark
I have come up with three different ways to make this chocolate bark. You can choose your favorite or make them all. That way, you have something at the table that everyone will love! I use Reynolds Wrap® Heavy Duty Foil to form this recipe because it helps the chocolate set perfectly and makes for such easy cleanup. Check out the bottom of the post for all the exact measurements.
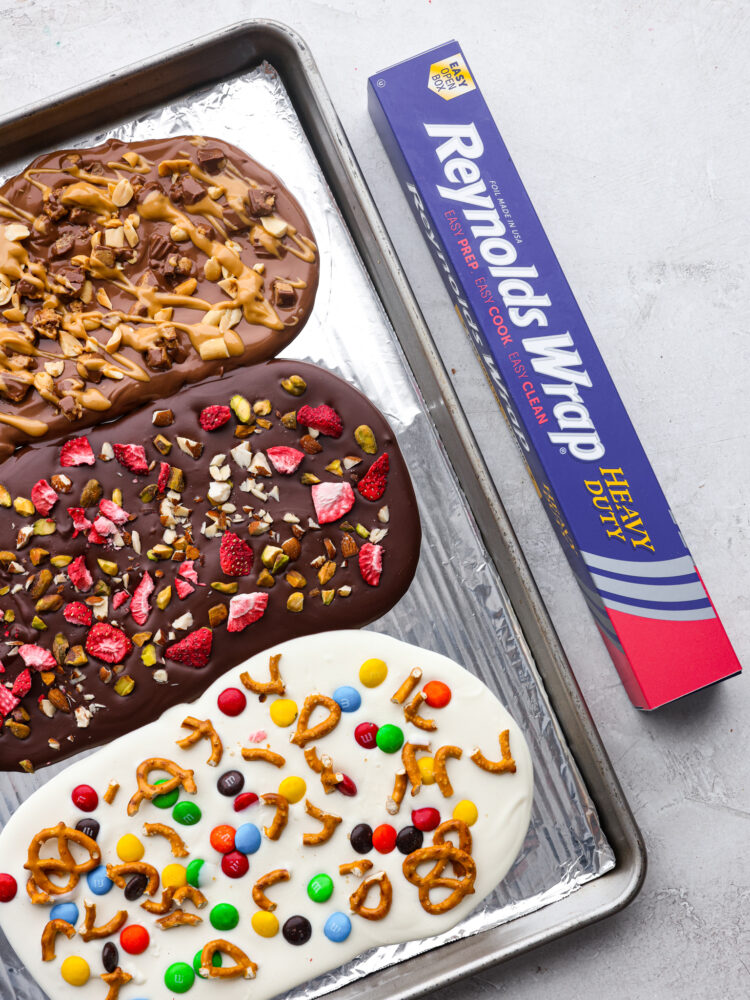
- Reynolds Wrap® Heavy Duty Foil: This foil is my favorite to use because it cuts so easily and forms to my pan. That way, it covers the entire pan, allowing the chocolate to set evenly and not stick.
Milk Chocolate
- Milk Chocolate: This is my favorite of the chocolates because I think classic milk chocolate can go with any topping!
- Peanut Butter Cups: You can use the regular-size ones and break them apart, or you can use the tiny ones that you find in the baked goods aisle (with the chocolate chips).
- Peanuts: I like to break these up and add them as an additional crunch of texture.
- Peanut Butter: When you drizzle the peanut butter on, it not only looks divine, but the taste is out of this world!
White Chocolate
- White Chocolate: Make sure to use high-quality chocolate so that when you melt it, it becomes nice and creamy.
- M&M’s: I think these are especially fun on the chocolate because they stand out. Feel free to use seasonal ones to make this chocolate bark extra festive.
- Pretzels: I used the small, twisted pretzels and broke them into pieces. Chocolate and pretzels are a match made in heaven!
Dark Chocolate
- Dark Chocolate: Dark chocolate is a classic flavor that looks and tastes so elegant.
- Pistachios: Chop these up (or crush them with a rolling pin) so that you get some pistachio flavor in every bite!
- Freeze-Dried Strawberries: Not only do these look stunning against the dark chocolate color, but their subtle taste is delicious.
- Optional: You can change any of these chocolate bark up by adding in nuts, seeds, sea salt, dried fruit, candy, sprinkles, etc.
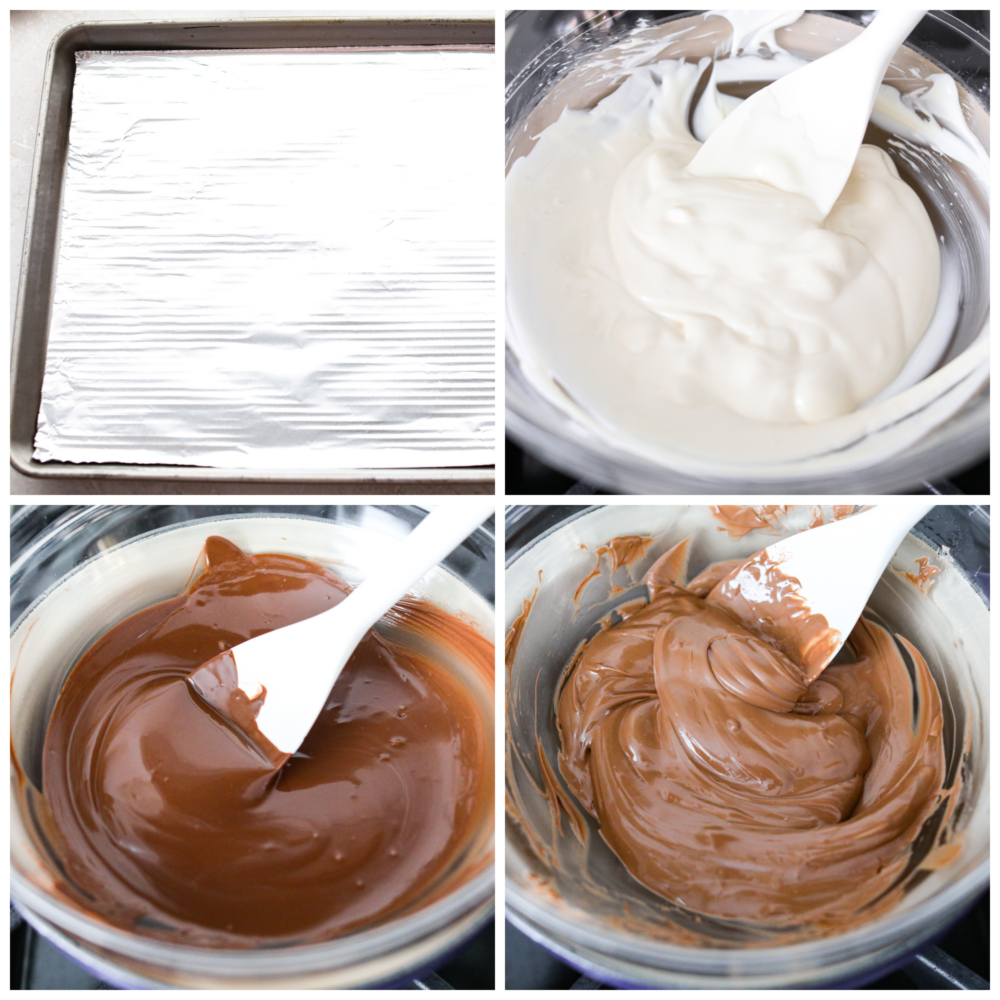
How to Make Homemade Chocolate Bark
This homemade chocolate bark recipe will become your new holiday favorite. I dare you to stop after just one piece! This dessert elevates chocolate and takes it to the next level with different toppings and combinations. I have a hard time choosing my favorite!
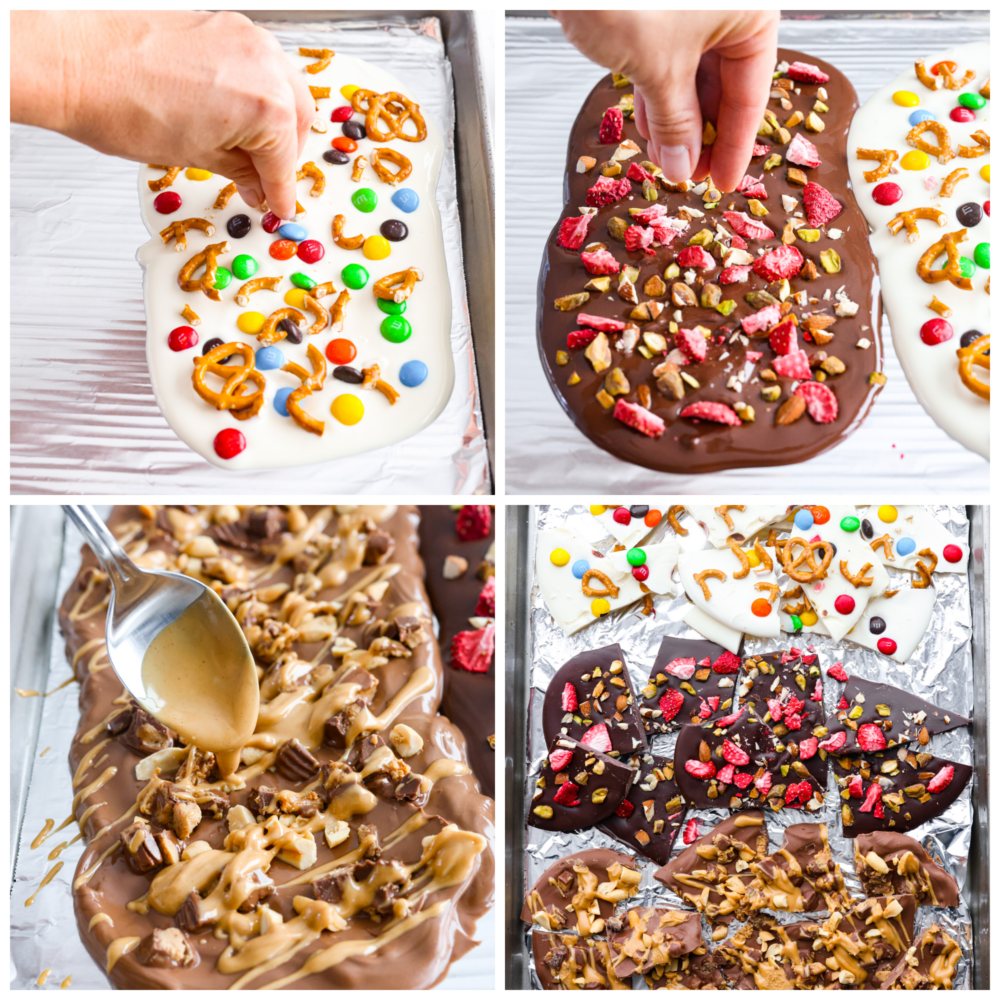
- Line with Foil: Line a 9×13 inch pan with Reynolds Wrap® Heavy Duty Foil and set aside.
- Melt Chocolate: Melt the chocolate using a double broiler or in the microwave. If using a double boiler, melt the semi-sweet chocolate over simmering water. If melting in the microwave, melt in a microwave-safe bowl stirring after every 30 seconds being careful not to let it burn and clump.
- Spread Chocolate: Spread the chocolate in a layer on the bottom of your lined 9×13-inch pan. Spread into about a 6×10 rectangle.
- Add Toppings: Immediately sprinkle the toppings on top of the melted chocolate.
- Cool: Let cool for about 10 minutes to room temperature or until almost set.
- Set: Set aside and let set to room temperature for about an hour. Break it into pieces and enjoy!
Baking Tips
This chocolate bark is so simple and can be changed up to add different toppings, mix-ins, and the different chocolates can even be combined to make marble-like chocolate! Here are some tips to help yours turn out perfect.
- Use Reynolds Wrap® Heavy Duty Foil: I like to use this foil because it’s tough and durable. It is perfect for cooking heavier foods, especially during the holidays, since you don’t have to worry about ripping or tearing.
- Use High-Quality Chocolate: The quality of chocolate makes all the difference! For dark chocolate, look for it to be 70%-85% cacao. You can use milk or white chocolate bars if you don’t like dark. I always try to use good quality brands for the best results!
- Layered or Marbled Chocolate Bark: Create layered bark with layers of chocolate using a variation of dark, milk, or white chocolate on top. Simply follow the instructions, letting the first layer cool for thirty minutes in the fridge before adding the next layer of melted chocolate.
Why Do I Use Reynolds Wrap® Heavy Duty Foil?
There are so many good things about using Reynolds Wrap®! It is high quality and safe to use for cooking, making the foil my go-to in the kitchen for everyday meals and holiday entertaining. I also love that Reynolds Wrap® Heavy Duty Foil is also available in a wide, 18-inch roll which is perfect for lining your pans for recipes like this chocolate bark. I can’t entertain without it this holiday season!
Variations
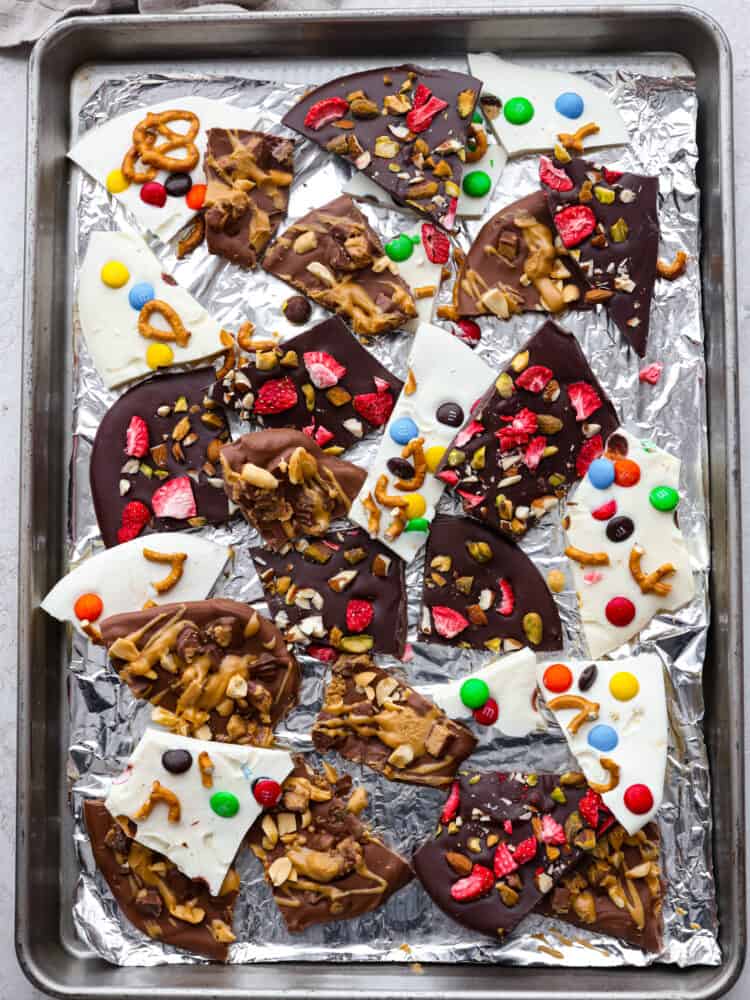
There are countless ways that you can add different elements to this chocolate bark to make it different and delicious every single time. That’s why this treat is perfect for any occasion!
- Mix-ins and Toppings: Try switching up the flavors by using different nuts, seeds, or dried fruit. I also love adding spices like a little cayenne pepper to make it taste different. Or, you can make it festive for the season by adding some red and green sprinkles to the top!
- Make it a Gift: Chocolate bark is a great gift idea for the holidays or any time of year! Break up the bark and then package it in a clear gift bag. Tie it off with a pretty bow, and it’s ready to deliver.
Can I Make Chocolate Bark Ahead of Time?
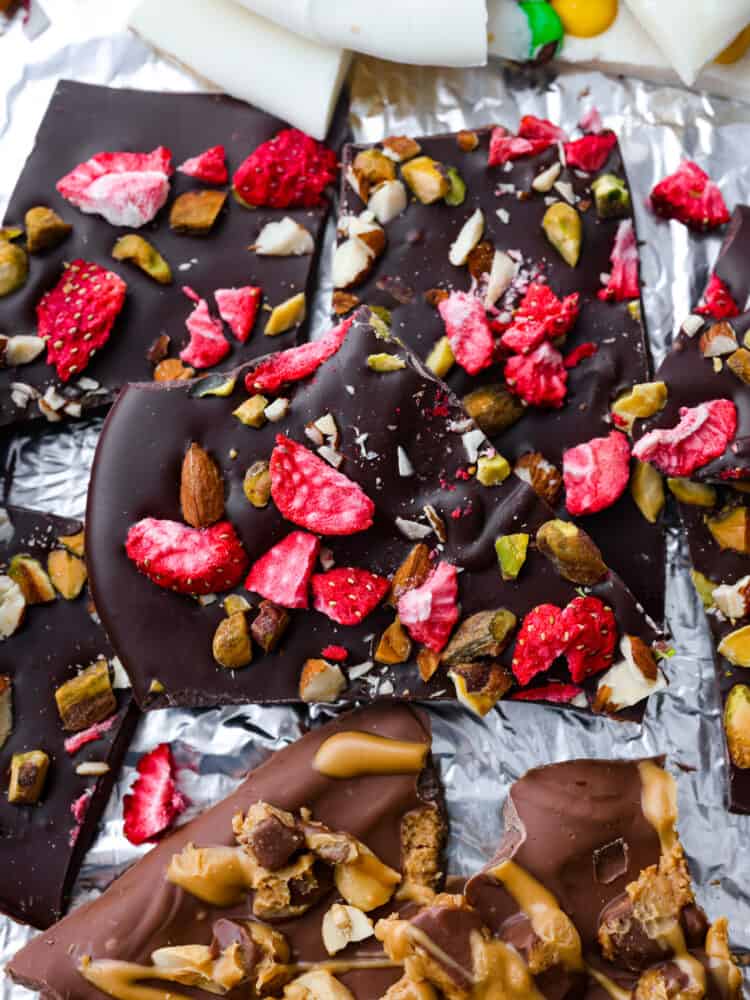
Yes! This chocolate bark is a great treat to make ahead of time because you have to let it cool and set. Once you finish making it, you can place it in an airtight container and store it on your counter.
Chocolate Bark
Ingredients
Milk Chocolate
- 10 ounces milk chocolate
- peanut butter cups
- peanuts
- peanut butter, melted
White Chocolate
- 10 ounces white chocolate
- m&m's
- pretzels (broken into pieces)
Dark Chocolate
- 10 ounces dark chocolate
- pistachios, chopped
- freeze-dried strawberries
- Optional: nuts, seeds, sea salt, dried fruit, etc.
Instructions
-
Line a 9×13 inch pan with Reynolds Wrap® Heavy Duty Foil and set aside.
-
Melt the chocolate using a double broiler or in the microwave. If using a double boiler, melt the semi-sweet chocolate over simmering water. If melting in the microwave, melt in a microwave-safe bowl stirring after every 30 seconds being careful not to let it burn and clump.
-
Spread the chocolate layer on the bottom of your lined 9×13-inch pan. Spread into about a 6×10 rectangle.
-
Immediately sprinkle the toppings on top of the melted chocolate.
-
Let the bark cool for about 1 hour at room temperature or until almost set. Break into pieces and enjoy!




0 Mga Komento